Desk Organizing with Dollar Tree

Project #1.
Raised Basket. Creating another level to my desk area, has become a favorite for me. I needed a catch-all for papers that was easily in my reach while I was still working on projects. A place that wasn’t in my files and wouldn’t get lost in the shuffling of other papers on my desk.
This took me all of 10 minutes to assemble. Waiting for the spray paint to dry was the time suck here. The basket being plastic needed two coats.
Here is the supply list:
Krylon Fusion spray paint.. color of your choosing .. mine was Ballet Pink
DT Basket Sku# 195464253748
DT Cabinet Shelf Sku# 639277515452
DT Nylon Cable Ties Sku# oops

Spray Paint Basket
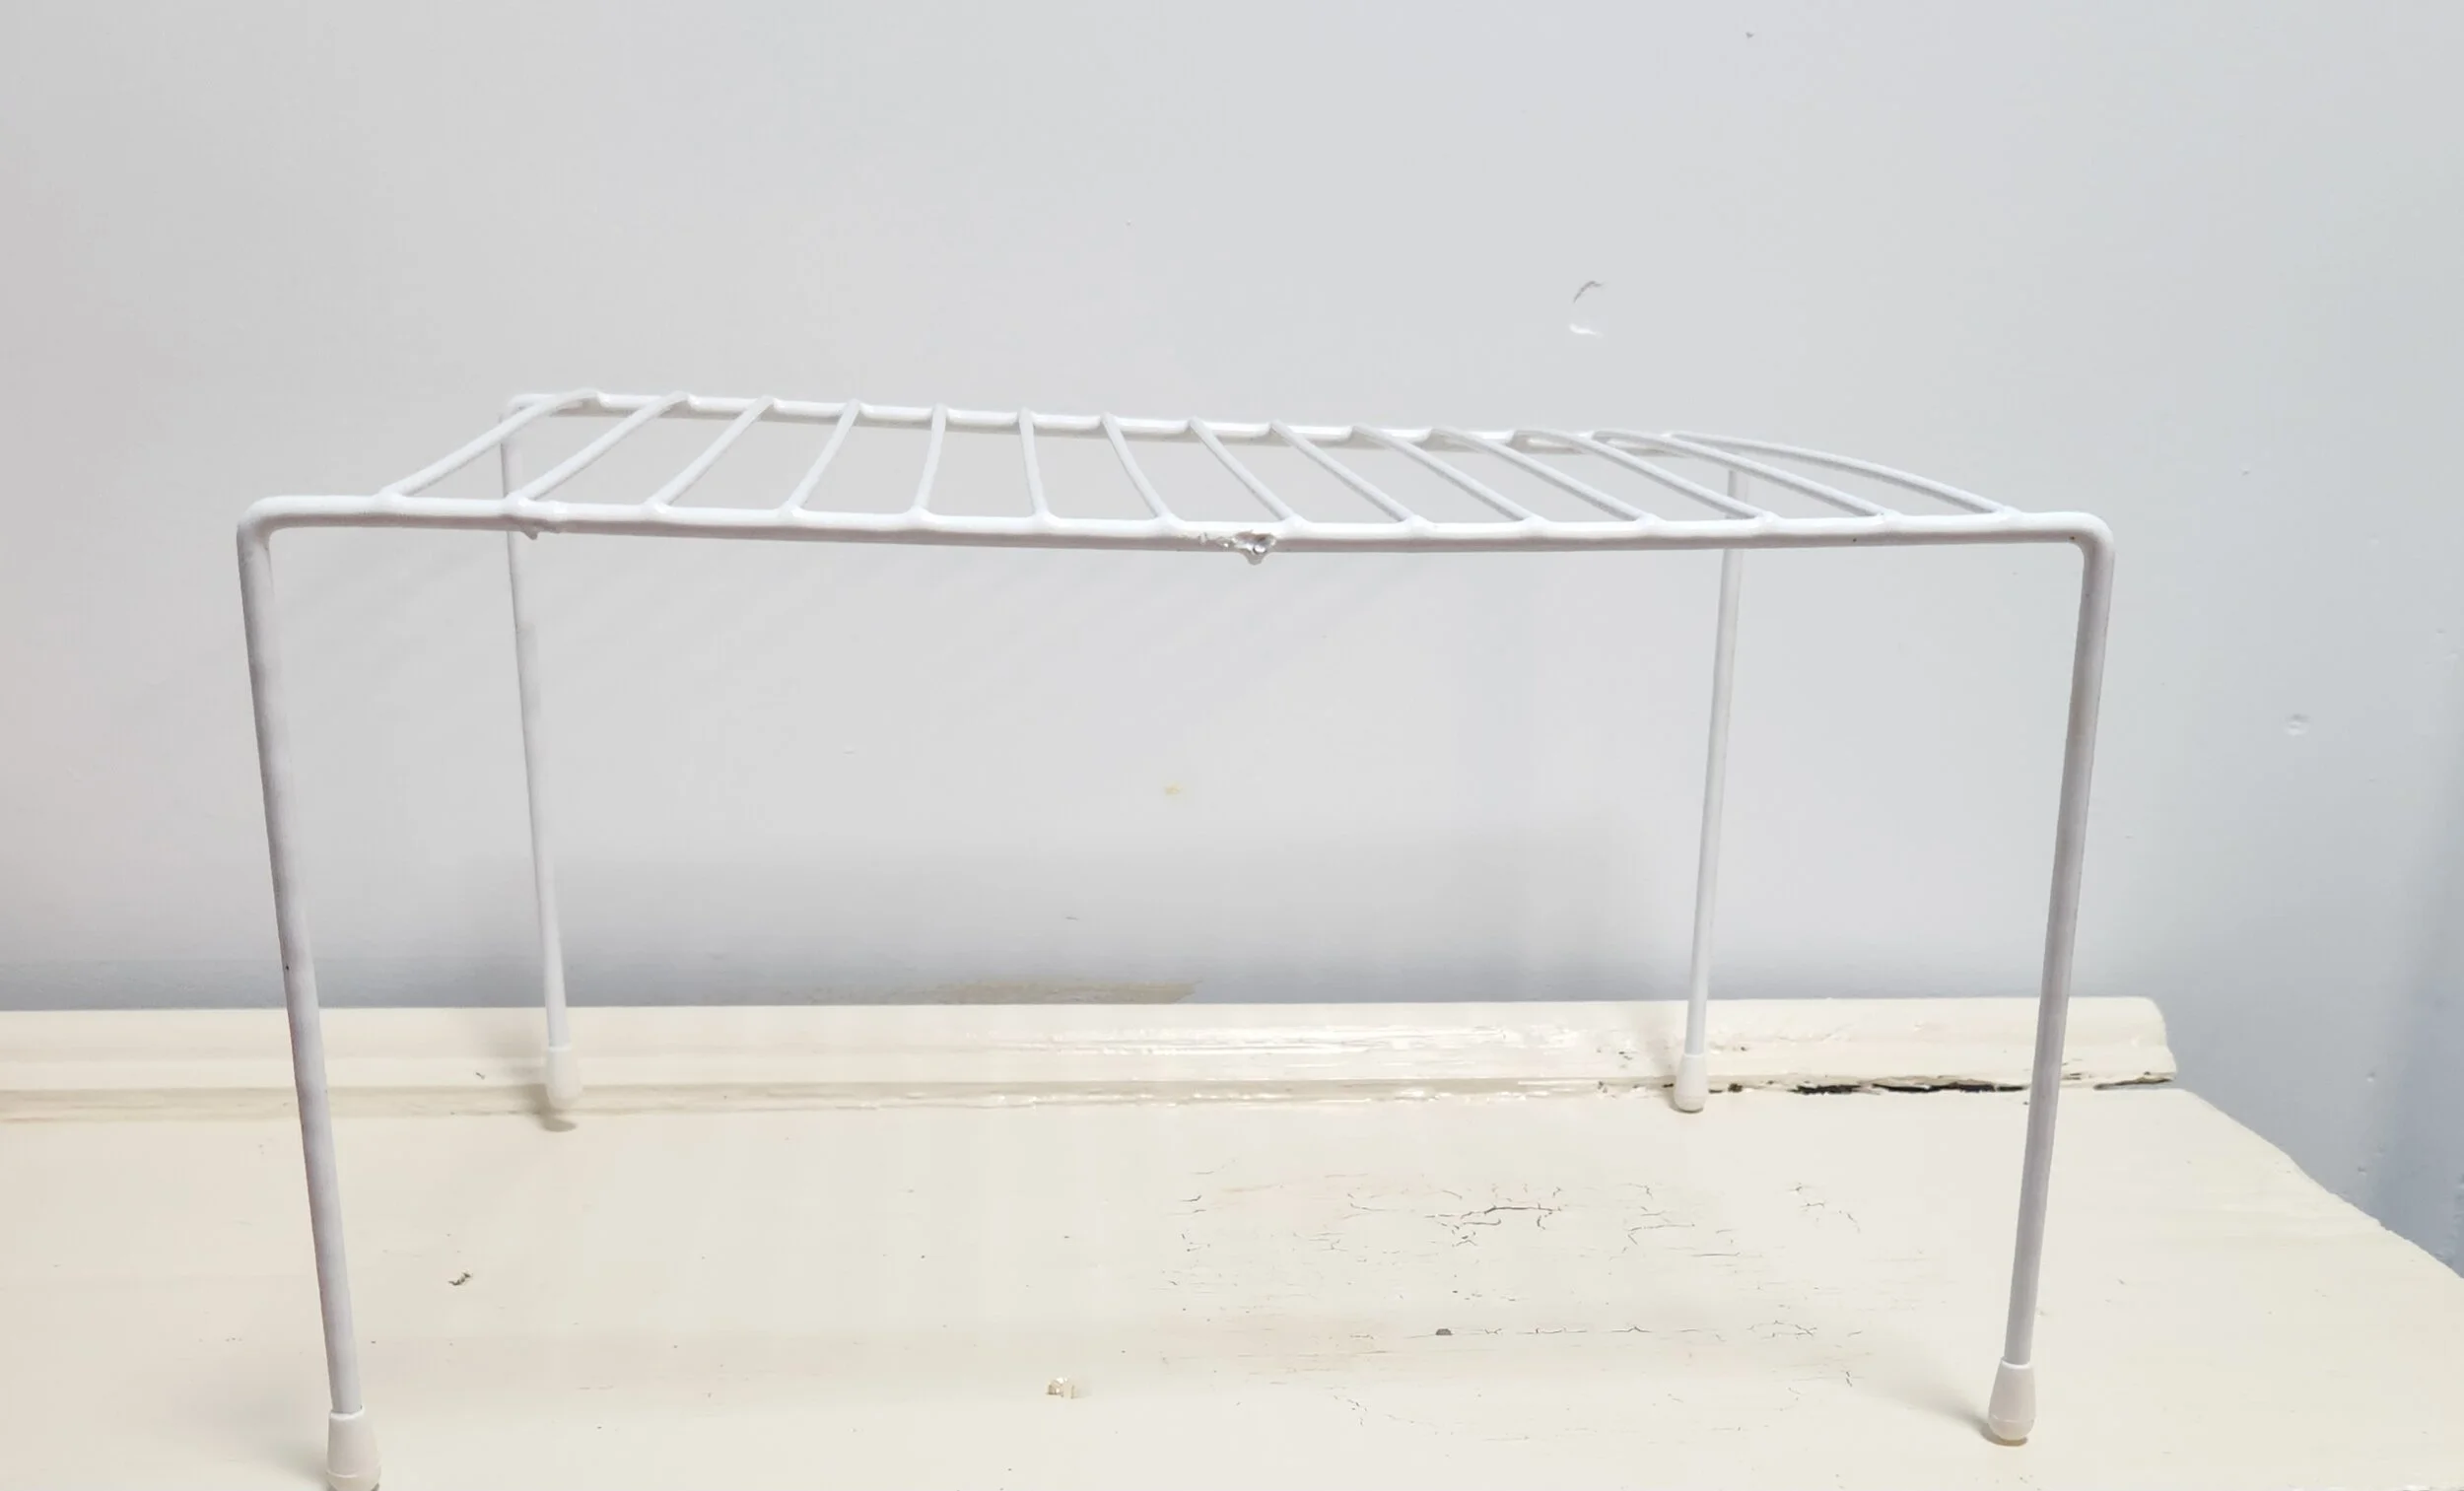
Position the basket on top of cabinet shelf.
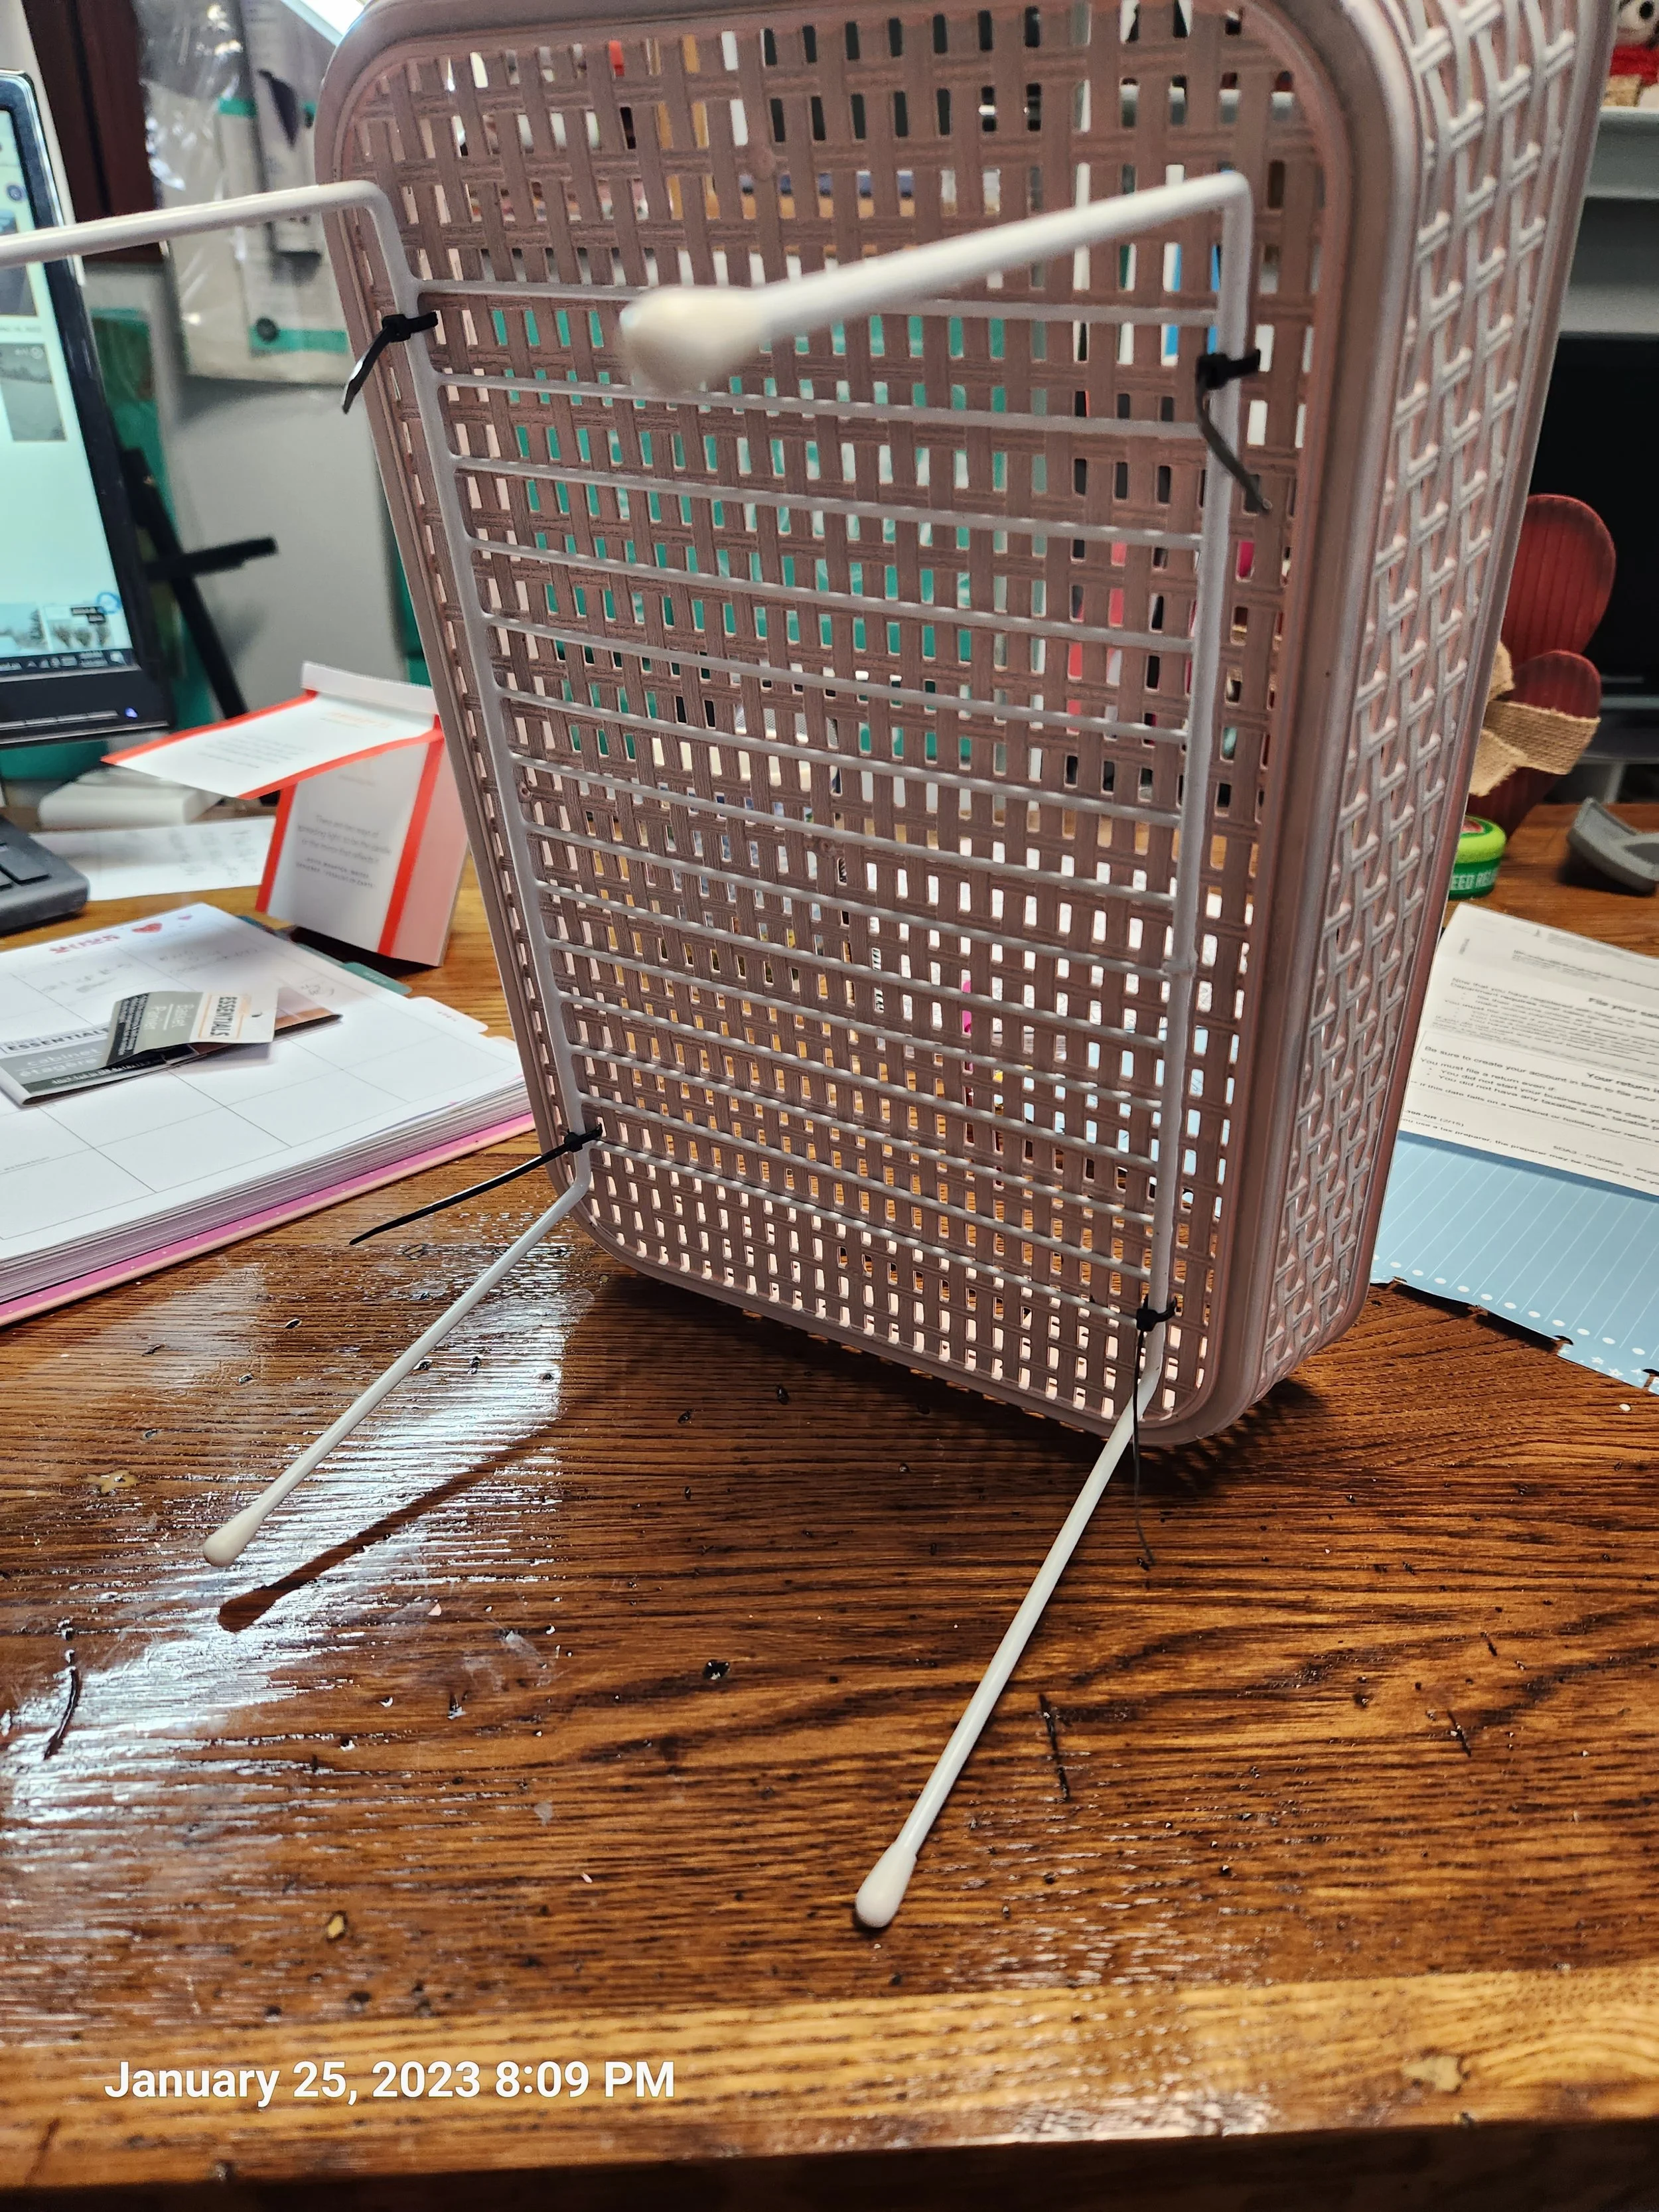
Using zip ties attach the basket to the wire rungs.
Trim zip ties.
Voila..Use more if needed and attach them to each other for stability.
It might not be even but I still love it
Project #2
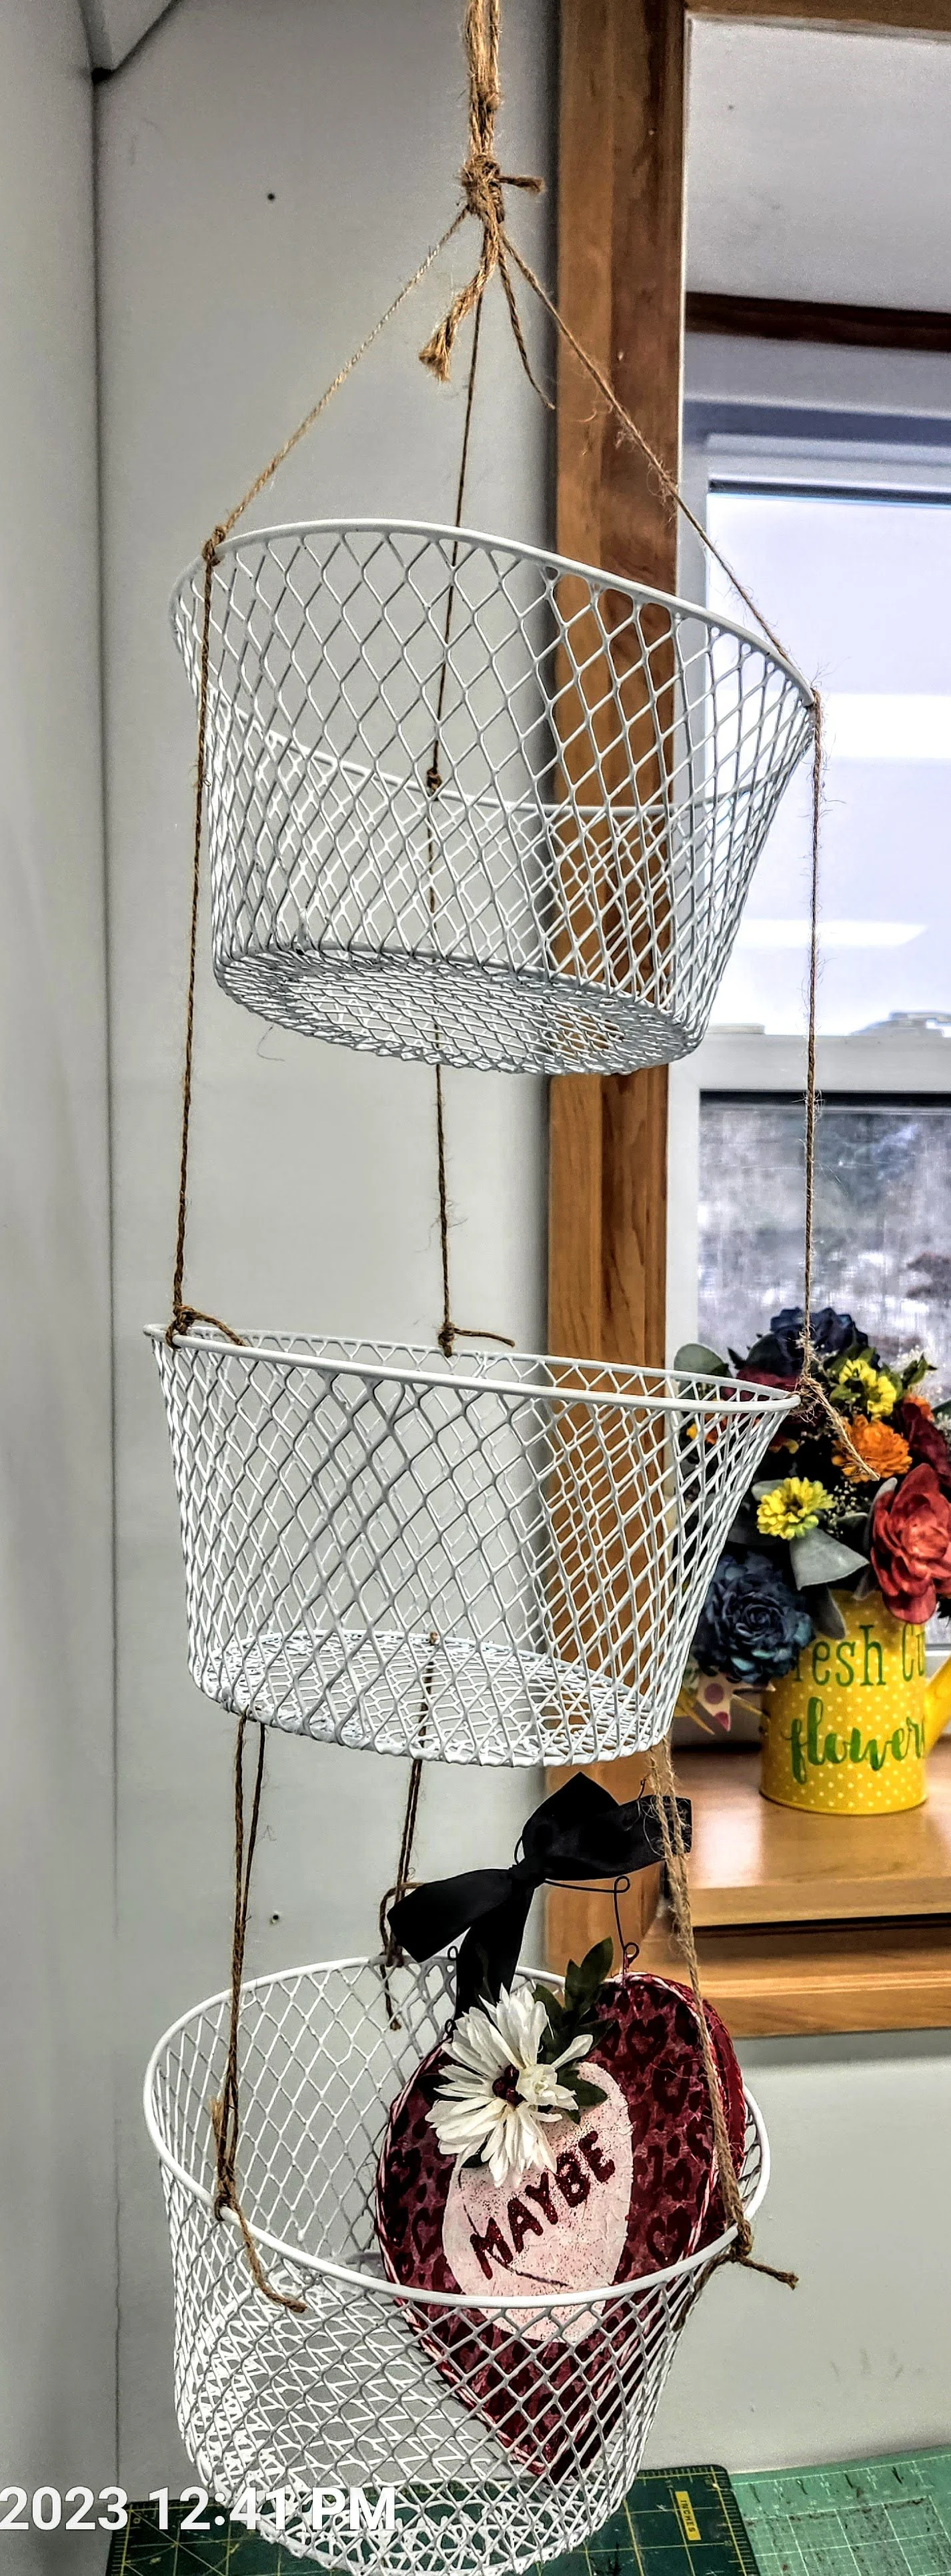
Tierred Hanging Baskets The airspace over and around your desk can be a forgotten area. Utilize all the space you can inorder to keep your desk clear and essentials nearby.
This project took a smidge of patience in getting the baskets to hang somewhat evenly but as you can see that wasn’t accomplished to perfection. Its a good thing I am not that “perfectionist girl” cause otherwise I still might be playing with the twine.
Supplies
Wire Baskets Sku# 119126
Twine
Hook
Have an idea of how low you want these baskets to hang from the ceiling or where ever you will be attaching the hook.
I took a very “scientific approach”. I stood on the desk and let the twine hang down to about where I wanted the bottom of the bottom basket to reach. I measured that and cut that length. Set that aside.
After deciding on how far apart I wanted the baskets to be, I doubled that amount and added 1” and cut twine to that measurement. Mine are about 6” inches, so I cut 9 x 13” pieces of twine.

Next, I threaded a piece of the 13” cut twine to to the top rim of the bottom basket. I then found the bottom of the basket above it and the made a knot with the twine attaching the bottom basket to the onethat would hang above it. This way the baskets would be approx 6” above each other. I repeated that one the other 2 sides and then to the 3rd basket above the middle one.
Once the 3 baskets are all attached to each other, take the 1st piece of twine and cut that into 3 equal lengths. Attach them to the rim of the top basket in the 3 different positions and knot them at the other end.
Hang from hook.